- Home
- Email Templates
- How to Edit an HTML Email Temp ...

Hey, have you ever wondered how to edit an email template from scratch? If the answer is “Yes,” you will love this. Here it is: Sendigram Email Editor. It is a just-released email editor that allows you to select professionally designed HTML templates and customize them. And absolutely no code is required!
What Is Sendigram Email Editor?
This comprehensive solution for email template customization is a fantastic choice for digital marketers, business professionals, or anyone seeking to create ready-to-go messages quickly. If you are one of them, please take the time to learn the basics from our step-by-step guide, as it is 100% worth it.
First, this tool will allow you to select from its extensive collection of professionally designed email templates. Second, you will be able to fully customize them through a user-friendly, intuitive, visual editor released by Sendigram.
Whatever your plan or purpose, Sendigram Email Builder is always one step ahead—ready to help when you need it!
How to Customize an Email Template in Minutes
Simply follow these steps to create a custom email design in no time:
Step 1: Choose the right HTML template
Now, let’s proceed with Step 1. Please note that it consists of several smaller steps.
1️⃣ Go to Sendigram Email Templates, which is the editor’s home page:
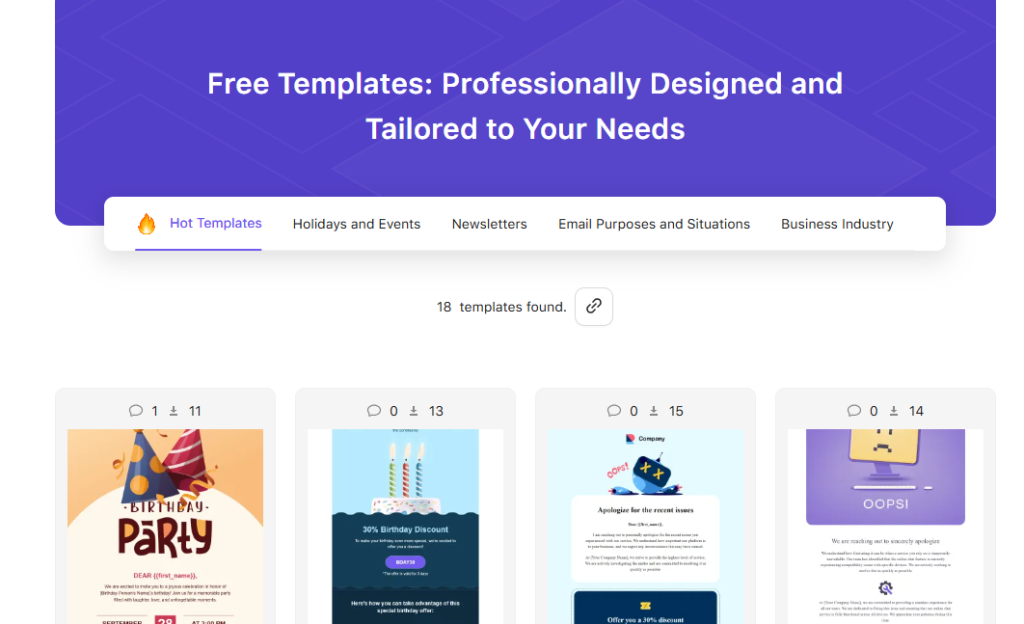
2️⃣ Browse through the editor’s categories, which are:
- Hot Templates
- Holidays and Events (its variety includes Independence Day, Halloween, Thanksgiving Day, Black Friday, Christmas, and more)
- Newsletters (including Nonprofit, Travel, Blogs, Restaurants, and SaaS)
- Email Purposes and Situations (Cold email, Apology email, Customer review, Reminders, and so on)
- Business Industry (Real estate, Healthcare, Travel and adventures, E-commerce, and more)
3️⃣ Then, click on any template that fits your needs. For example, you can choose Holidays and Events. By the way, the choice of templates is really broad—more than 100 layouts in each category except for the Hot Templates section, which is, of course, a collection of blockbusters!
4️⃣ Hit Edit. The chosen template will open in Sendigram Email Builder.
Our pro tip: The great benefit is that all custom HTML email templates provided by Sendigram Email Builder are not only code-free but also absolutely free to use. You won’t spend a penny! The wise decision would be to choose the one that matches your brand’s tone of voice and structure the most, thereby reducing unnecessary edits later.
Step 2: Open the HTML file in the editor
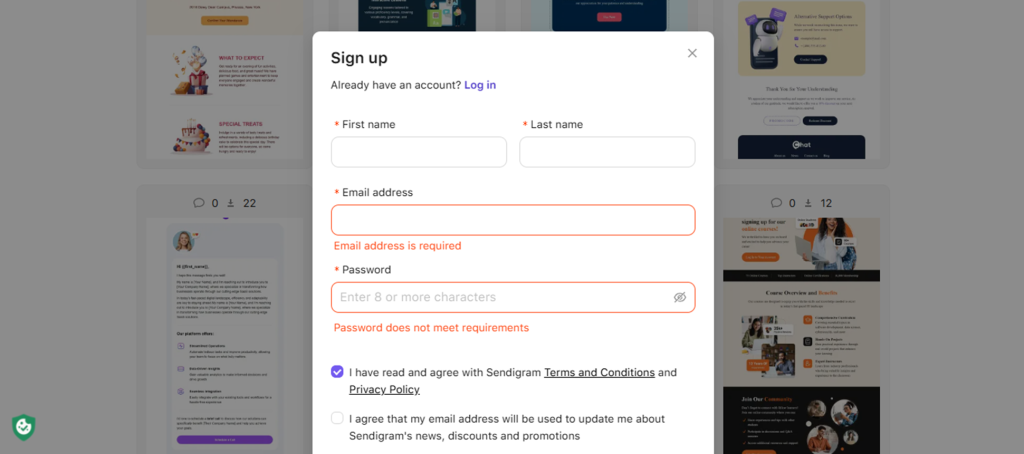
Once you’ve hit Edit, you’ll be prompted to sign up or log in.
The registration form is standard. You should provide your first and last names, use your valid email address, and create a safe password—it all only takes a few seconds.
Please note: if you choose to sign up first, when visiting the home page, you won’t have to do it when clicking Edit, as you would already be logged in.
After logging in, you’ll be inside the visual drag-and-drop editor. This is where the real action starts!
Step 3: How to replace text content
From this section, we will go to the next level, as you can learn basic features that Sendigram’s email editor offers. Of course, replacing text is one of them. Here’s what you should do:
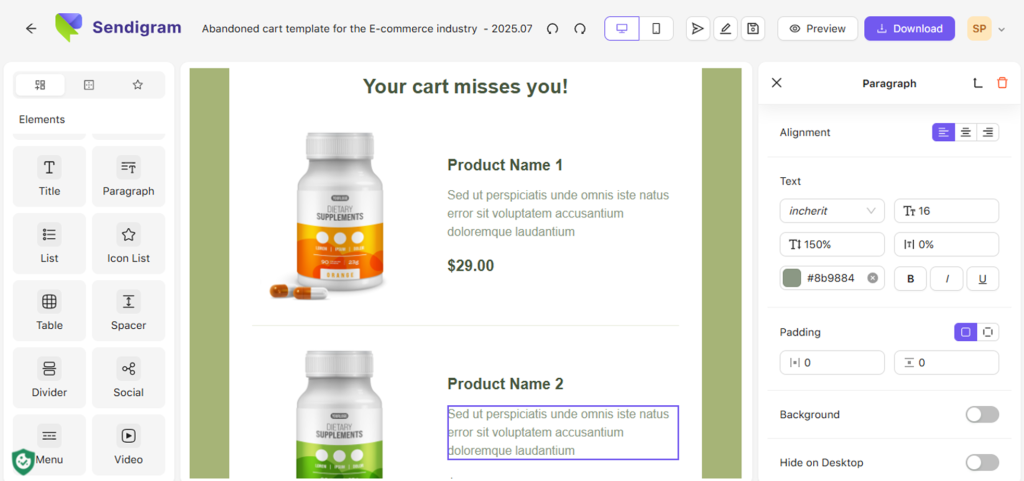
1️⃣ Click on any text block in the chosen template.
2️⃣ A text toolbar will appear—allowing you to:
- Edit the highlighted copy directly
- Change font size and alignment
- Add weblinks or bold text
- Choose text style, like bold or italic
- Play with background by choosing its color
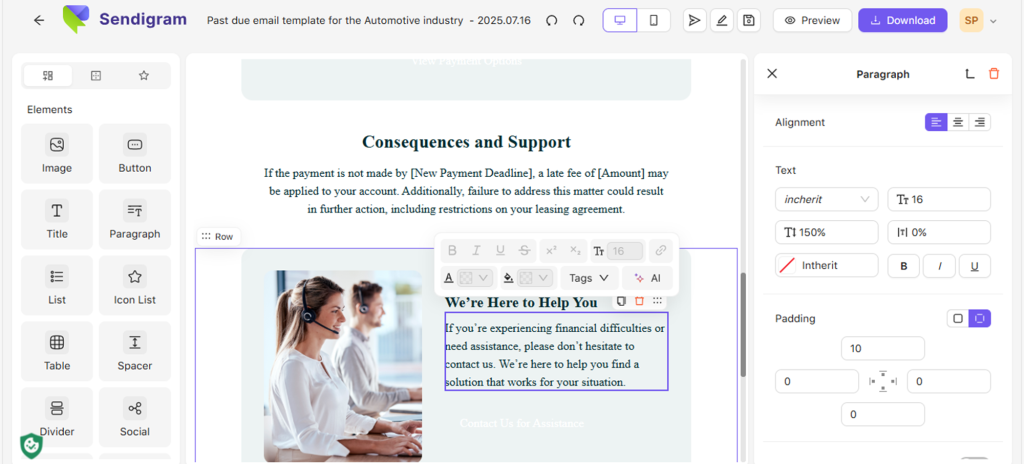
Please note that depending on the type of content highlighted (title, paragraph, etc.), you will have a different menu. In the screenshot above, you can see what options the editor provides when working with paragraphs.
Our pro tip: We 100% recommend keeping your copy concise and visually appealing, even eye-catching. Don’t be shy, make it playful! For instance, you can use a variety of headings (H1, H2, H3, etc.), bullet points, and call-to-action tools to guide the recipient’s attention.
Step 4: How to swap out images and logos
The next big thing after text is, of course, images. Well, people do read texts; however, they also love pictures, images, and logos. Symbols have been used for millennia to influence people, mostly those who were illiterate at the time. In today’s world, we all can read and write, and some of the wisest even have a Ph.D. Just kidding! Yet, the meaning of visual communication is paramount when it comes to sending a strong, universal message.
1️⃣ Click on any image placeholder, for example, a product image, logo, or banner.
2️⃣ On the left side, upload your own image or picture by clicking the corresponding icon.
3️⃣ When it is done, simply adjust size and alignment as needed.
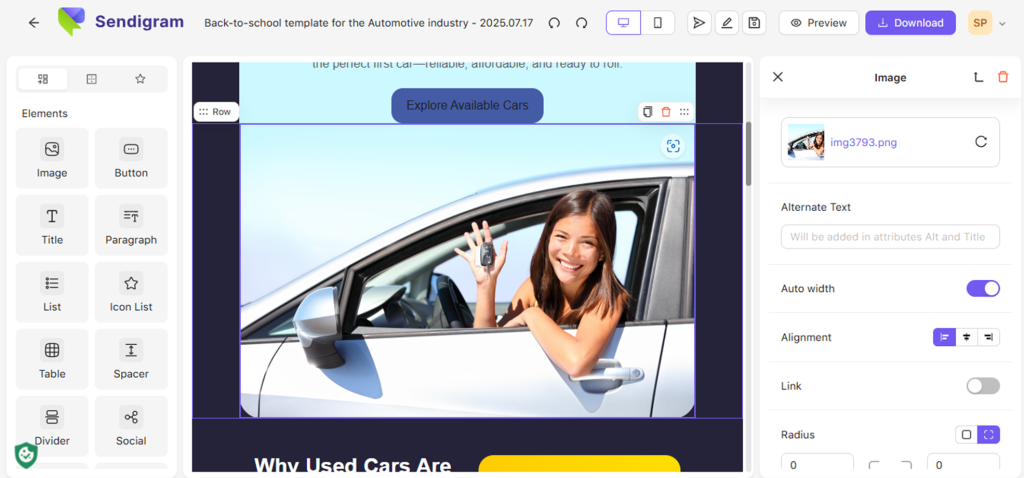
Our pro tip: The best image size would be 600px width; it works just fine across most email recipients. In general, you should use optimized JPG or PNG files under 1 MB to stay on the safe side.
Step 5: How to customize colors, fonts, and styles
This is another important set of tools that would serve your needs. Again, the editor offers a very intuitive, user-friendly experience for you to achieve your email marketing goals.
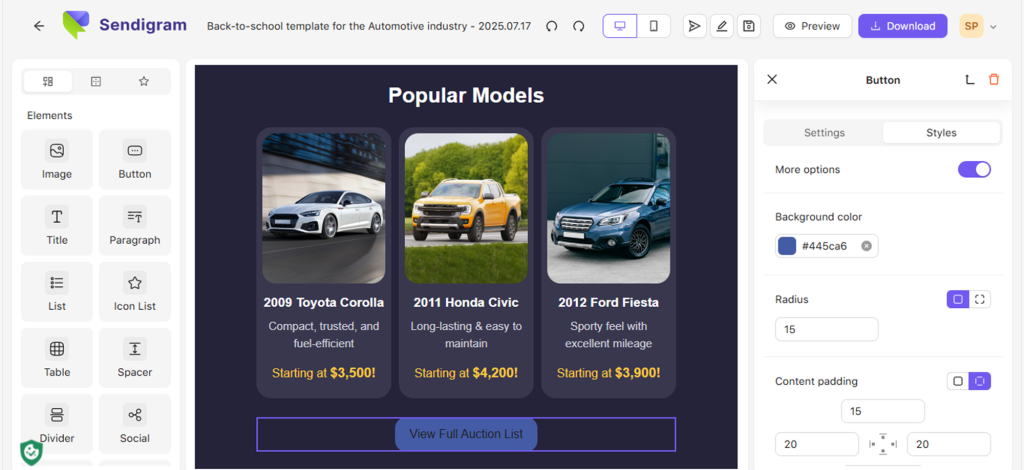
1️⃣ First, select any section or text block, like the View Full Auction List CTA button on the screenshot above.
2️⃣ Now, use the Styles feature on the right to adjust things like:
- Background color, if you want to spice up your message
- Text color and its other features, when it comes to changing the text concept
- Font family and size, for the same purposes
- The button’s color, when some changes in the CTA style are needed
Our pro tip: To achieve the most from your marketing goals, simply use your brand’s corporate colors and fonts for a proper, more cohesive, and customer-oriented experience. For example, Coca-Cola would choose its signature red and white colors and avoid using any blue. Otherwise, it wouldn’t feel like an email template by Coke—even if the copy were 100% correct!
Step 6: How to add new elements
Sometimes—and it can be more often than you would have thought—there’s a need to insert new content, like images, buttons, and so on. Here’s what you should do if you’re going to add a new element to your template:
1️⃣ On the left panel, choose the option that fits your intentions, like Image, Title, Button or Icon list.
2️⃣ Now, you can drag and drop elements like:
- New text blocks, such as Title and Paragraph
- Images and videos (yes, we know that videos may not always fit your email marketing campaign goals, but the option exists)
- Buttons of any kinds, from the “pure” CTA tools like Complete My Purchase to those that lead to customer support and other technical resources
- Dividers, spaces, and other features of such kind
- Social media icons, like Instagram, Facebook, X, and so on
Our pro tip: The fewer, the better! Simply stick to one or two CTAs per email and make generous use of white space, as designers put it, which means leaving room between layout elements to create a sense of ease and freedom. In almost every case, minimalism in design works perfectly! Check out the product page screenshot above.
Step 7: Test the template
When you think that your job in creating your customized email based on the Sendigram layout is finished, just take a deep breath. It is time for the finishing touch. Before sending your ready-made email template to new endeavors, here’s what you should do next:
1️⃣ Hit the Preview button to see how your email looks on desktop and mobile. That’s very important!
2️⃣ Then, use the Download button to save your email template as HTML.
3️⃣ Finally, click Send test email to send a template to your personal email to double-check if everything is fine.
Our pro tip: As described above, rule #1 is to always send a test email to yourself before going live. Check all the elements in your email template, not just titles, text, and images, but also links, typos, and mobile responsiveness.
To Sum Up
Congrats! You have just completed our seven-step comprehensive introduction to what the HTML email editor by Sendigram can offer.
Generally, the Sendigram Email Builder makes it incredibly easy to create beautiful, responsive HTML emails—even if you’ve never touched code in your life. Its target audience is much broader than mere programmers, and it is the tool’s unique selling proposition: everything is set to serve your skills and needs, for free!
Here’s a quick recap: we presented it in a bullet point format for easy reading and a clearer structure. These are the main things you can do with the email template editor from Sendigram:
- Pick a template from the free gallery
- Customize its design: text, images, colors, and layout
- Add various elements with a special drag-and-drop tool
- Export or copy the HTML, and you’re ready to send
You can now customize email templates quickly and easily. Just try it out to see how it works! The Sendigram email template editor is a beautifully crafted online solution with a great, intuitive UX. And remember: no coding is needed!