Custom rows: Creating, saving, and managing your own blocks
The Email Builder allows you to create and manage your own custom rows based on standard blocks. This feature helps you save time, maintain consistency, and quickly reuse your favorite layouts in future emails.
Each user can save up to 50 custom rows.
How to create a custom row
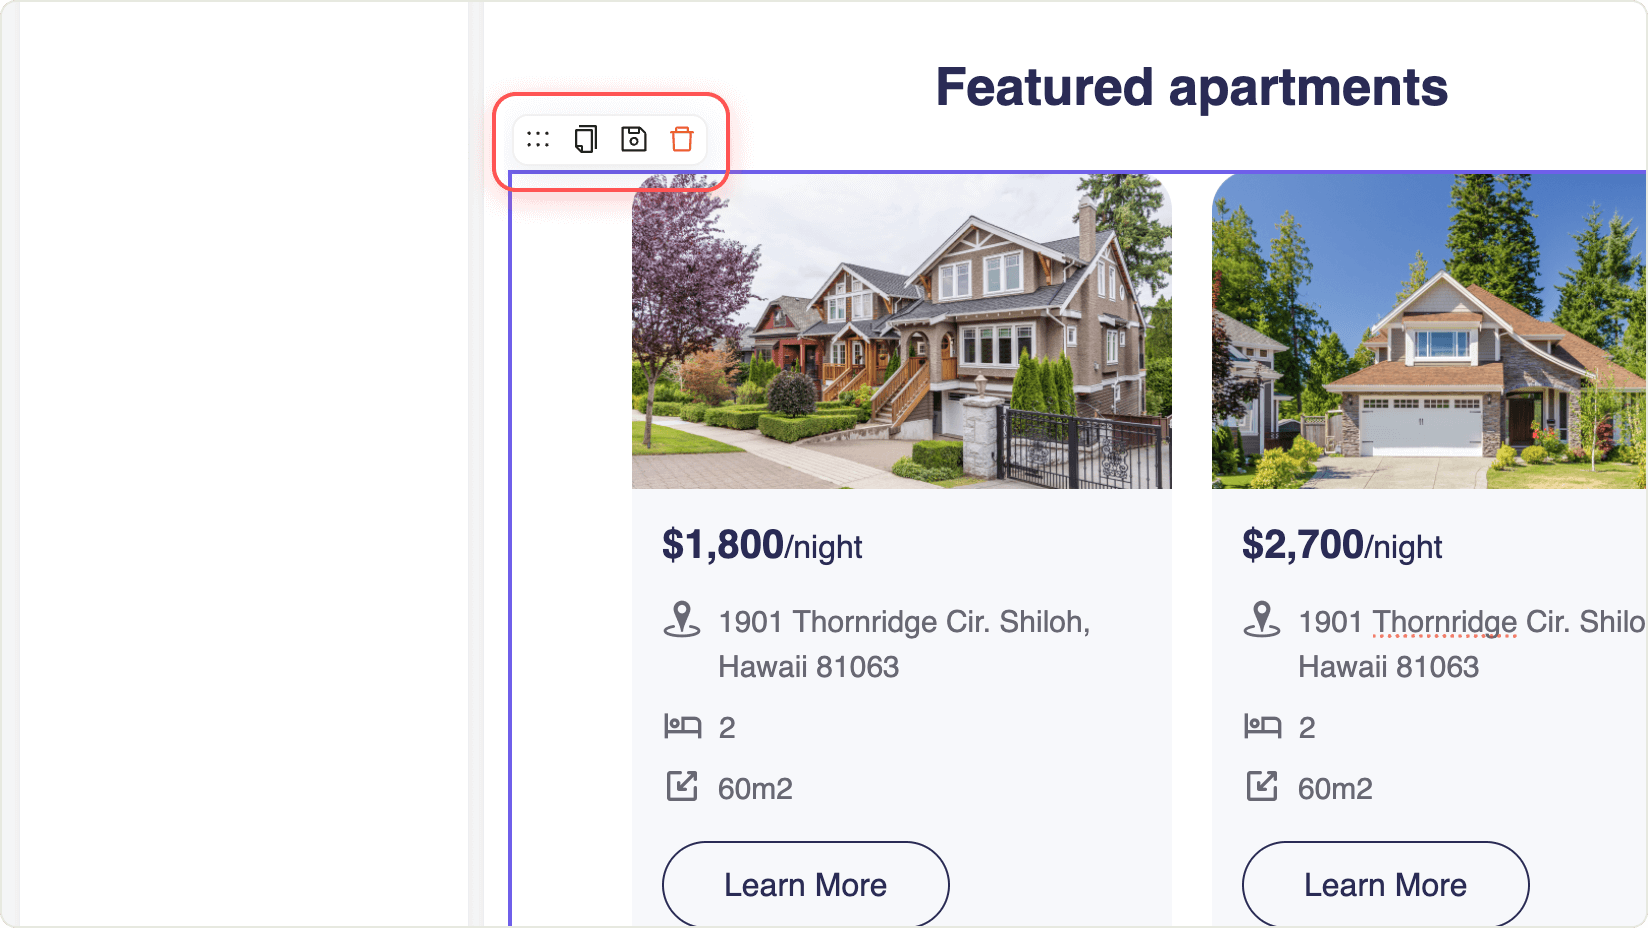
- Click on any block in your email that you want to save as a custom row.
- Click the Save button.
- Name your row.
- Click Confirm to save your block.
- The new row will appear in your personal gallery of saved rows.
How to use a custom row
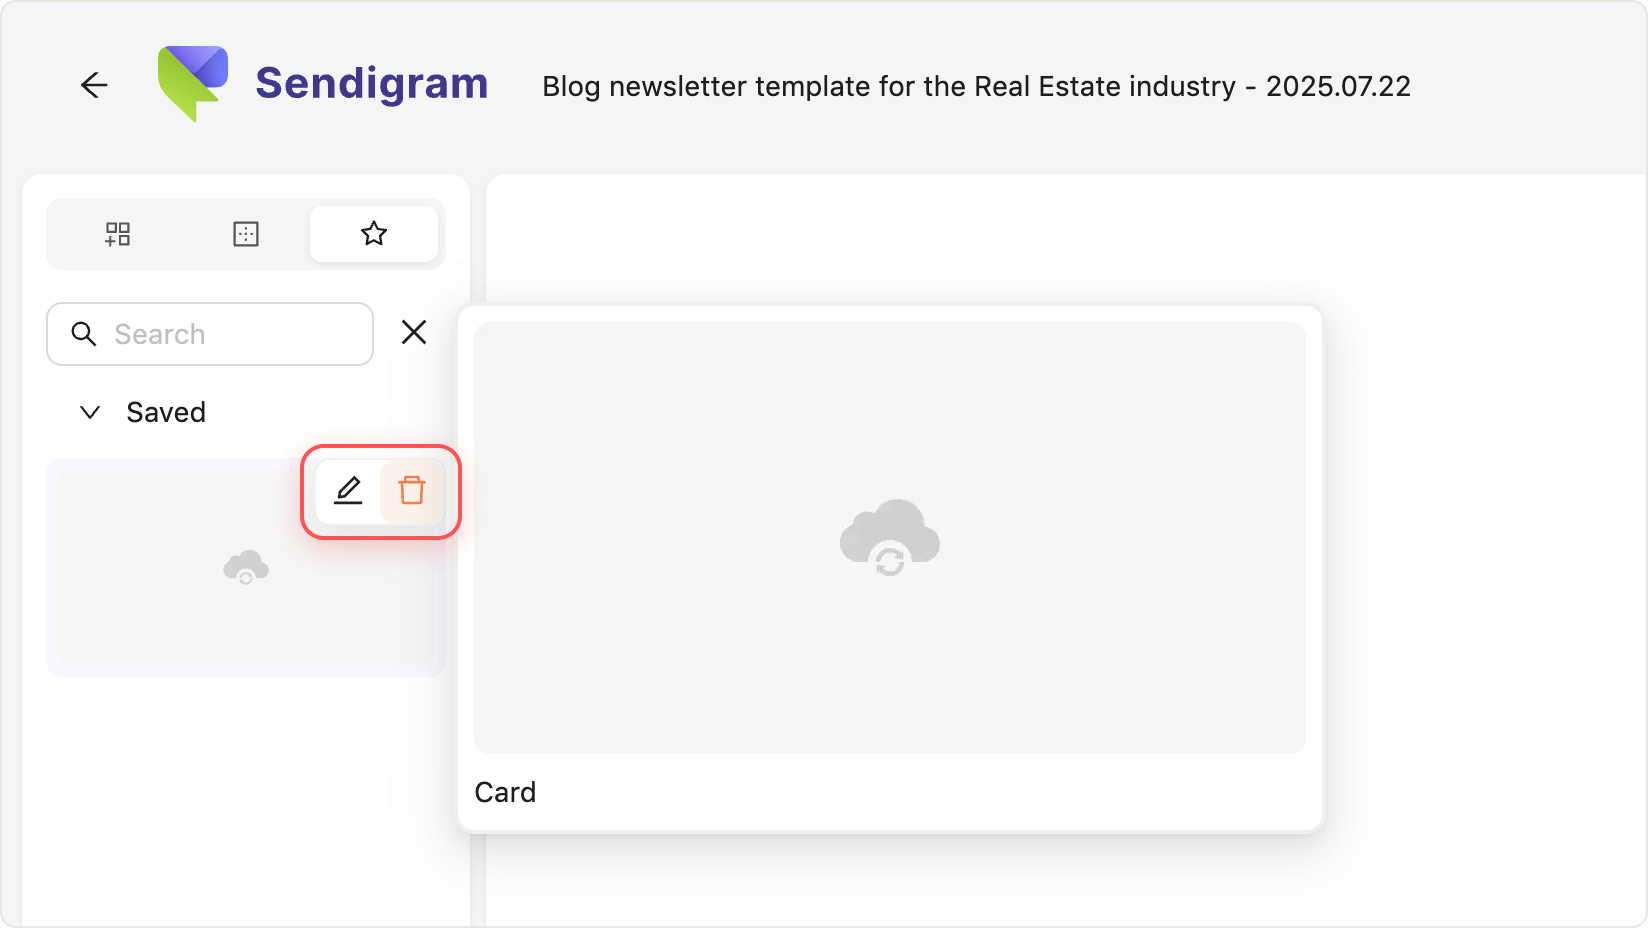
- Go to the left panel and select the third tab—Row gallery.

- Use the search bar to find your custom row by name. You can also scroll down to browse your saved rows.
- Drag and drop your chosen row from the gallery directly into your email.
Editing and deleting custom rows
- Find the row in your gallery.
- Hover over the row and click the trash bin icon.
- Click Delete to remove the row.
Tip: Custom rows are a powerful way to streamline your workflow and keep your email designs consistent. Use them to save frequently used layouts, headers, footers, or any block configuration you want to reuse across campaigns.
Still have questions?