Email template structure
Each email template is composed of several key structural components. Let’s take a closer look at their hierarchy and functionality to help you design and edit your emails more efficiently in the builder.
1. Rows
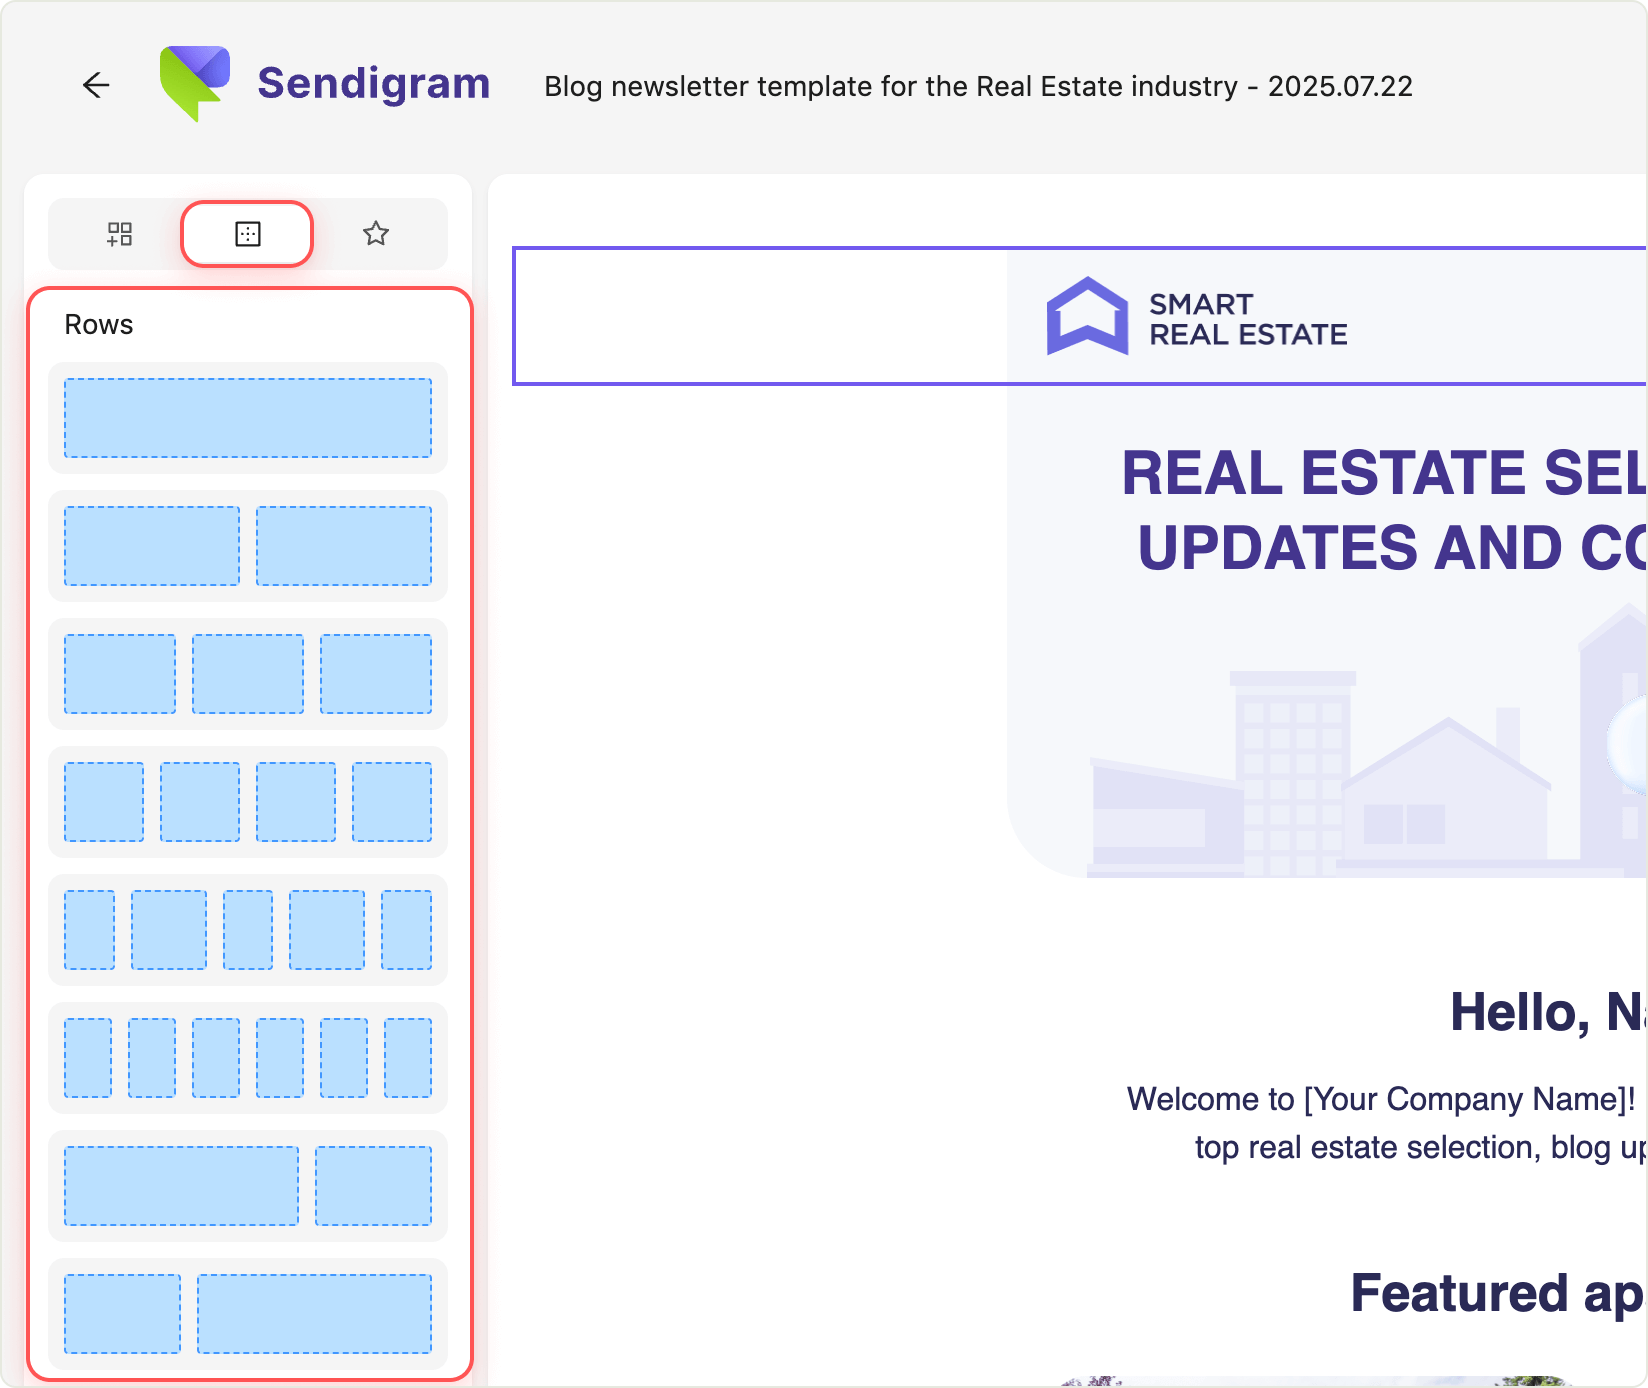
Rows are the foundation of every email and the top-level structural element in the hierarchy.
- You need to add a row first to add basic content elements like text, images, or buttons.
- A row can consist of one or multiple columns.
- All other elements are nested inside rows.
2. Email elements
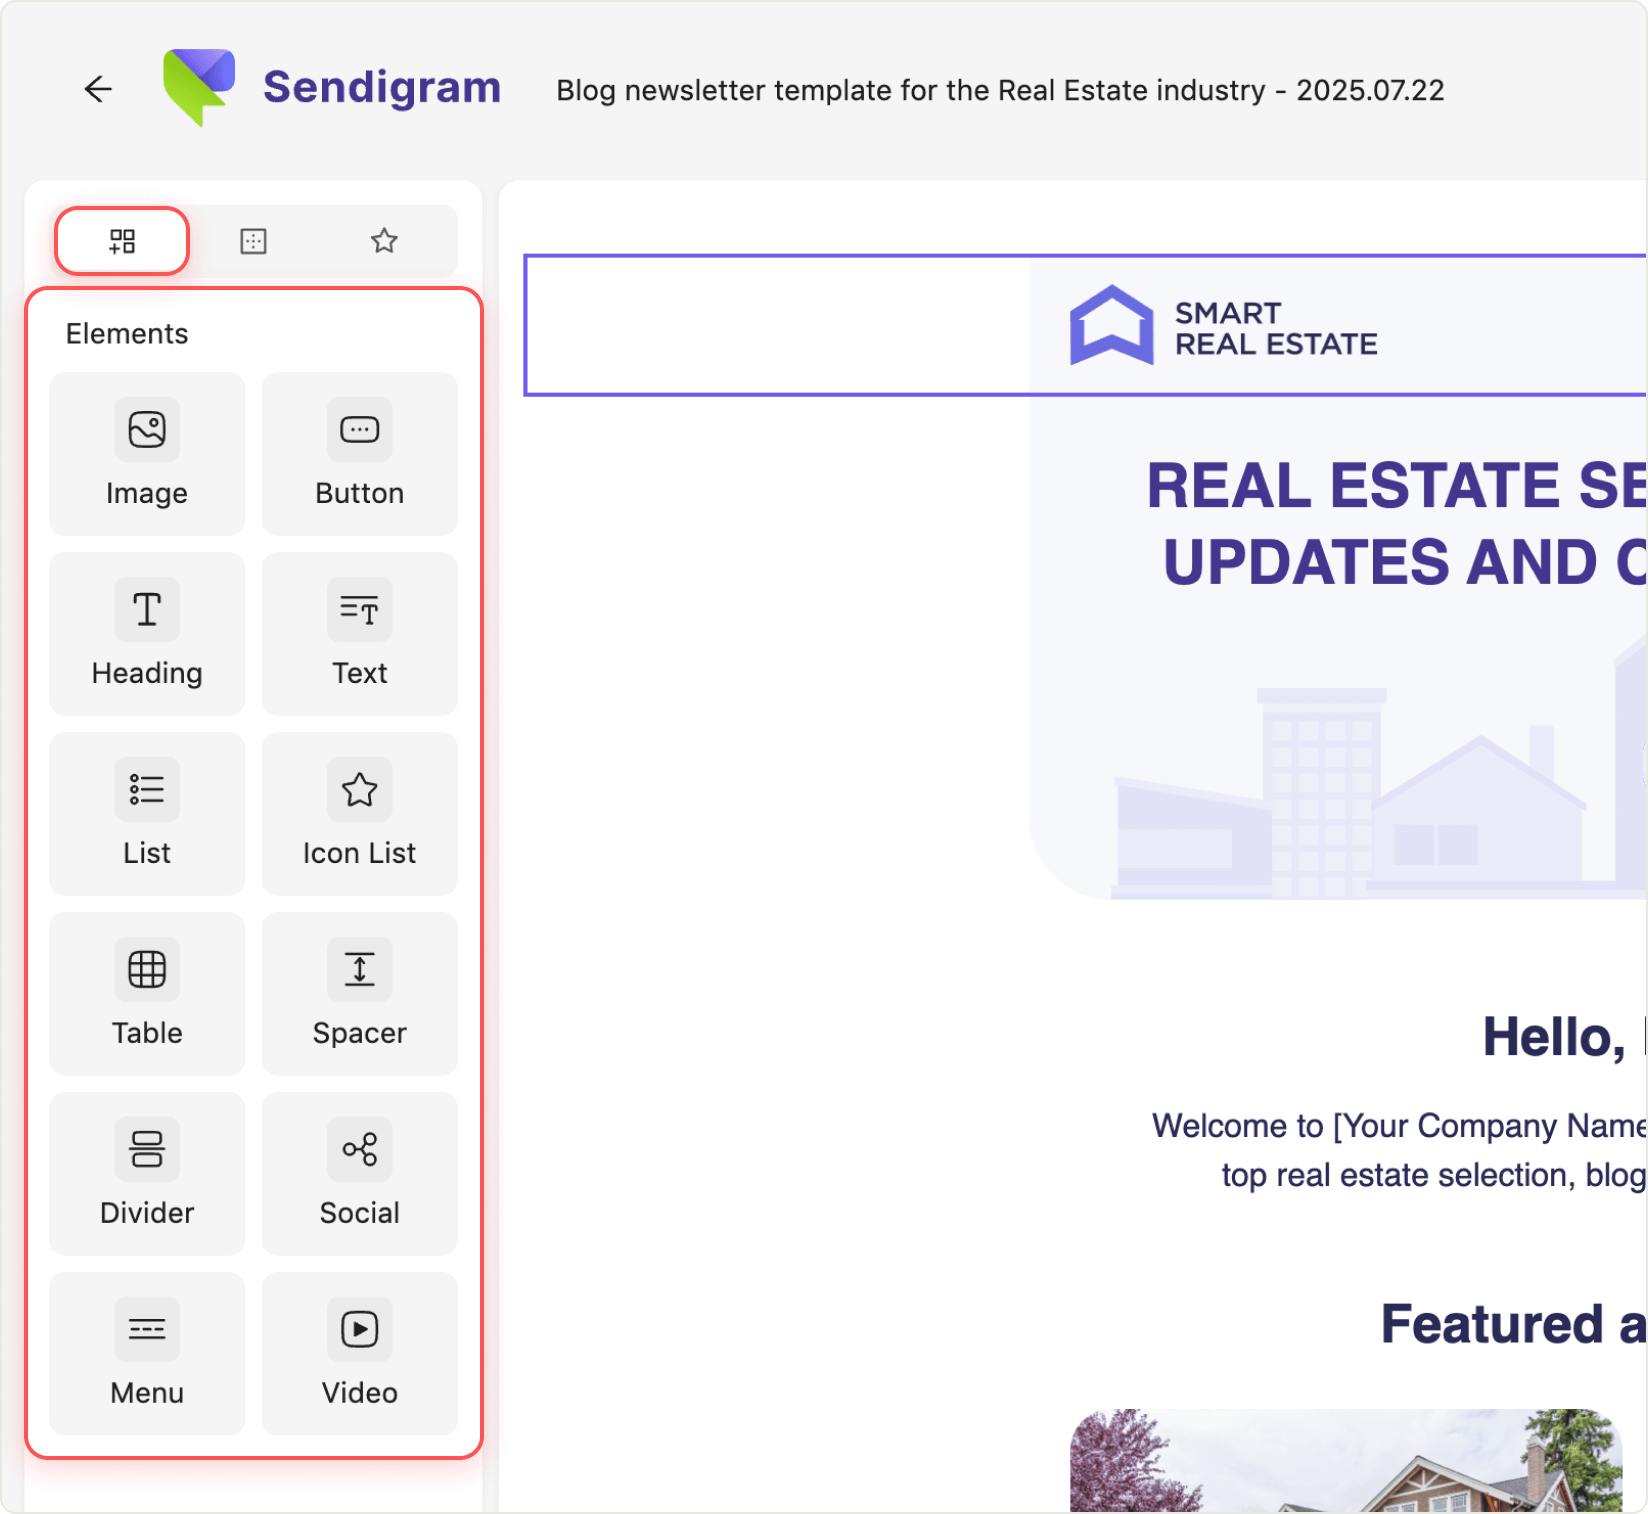
Email elements are the second level in the structure and are always placed inside a row.
These elements include:
- Text
- Images
- Buttons
- Dividers
- Social icons
These are the building blocks of content and can be dragged and dropped into a column within a row.
3. Blocks
Blocks are reusable groups of multiple rows.
- Think of a block as a larger template section—for example, a full header, product listing, or footer.
- Using blocks allows you to quickly add pre-designed layouts instead of building everything from scratch.
4. Columns
Columns are part of rows and act as containers for email elements.
- A row may contain one or more columns, either side by side or stacked.
- Columns help you control the layout and alignment of content within a row.
Nesting refers to the hierarchy of an email’s structure, where one element is placed inside another, higher-level element.
Currently, only one level of nesting is supported: you can add a basic element into a row, but it is not possible to insert a row within another row.
Tip: To start creating a layout, always begin by adding a row—then build your design by dragging elements into its columns. Blocks can help speed things up when you’re reusing common layouts.