Email Builder panels
1. Email elements panel (left sidebar)
Here you’ll find both the row element and all email elements such as text, images, and buttons. Use this panel to drag and drop elements into your email design.
.min.png)
2. Settings panel (right sidebar)
This panel allows you to manage settings for the entire email or for individual elements. You can adjust global styles or fine-tune the appearance and behavior of specific blocks and rows.
.min.png)
Configuring Email Builder panels
Email elements panel
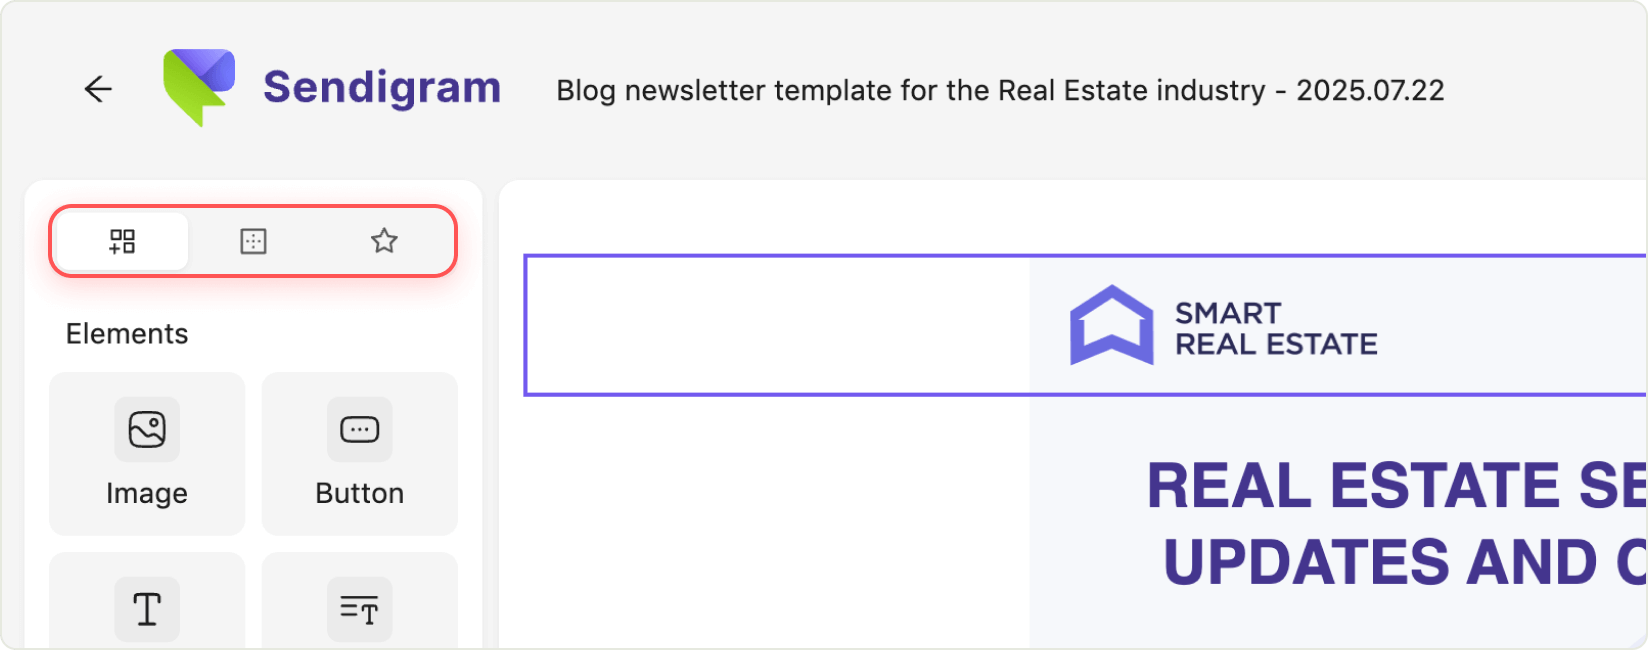
The left sidebar panel contains several tabs:
- Elements: Here you’ll find all available elements that you can select and drag and drop into the body of your email.
- Rows: This tab allows you to choose from a variety of preset row structures, which you can also drag into your email design.
- Saved rows: In this tab, you can access your saved rows using a slider or by searching by name.
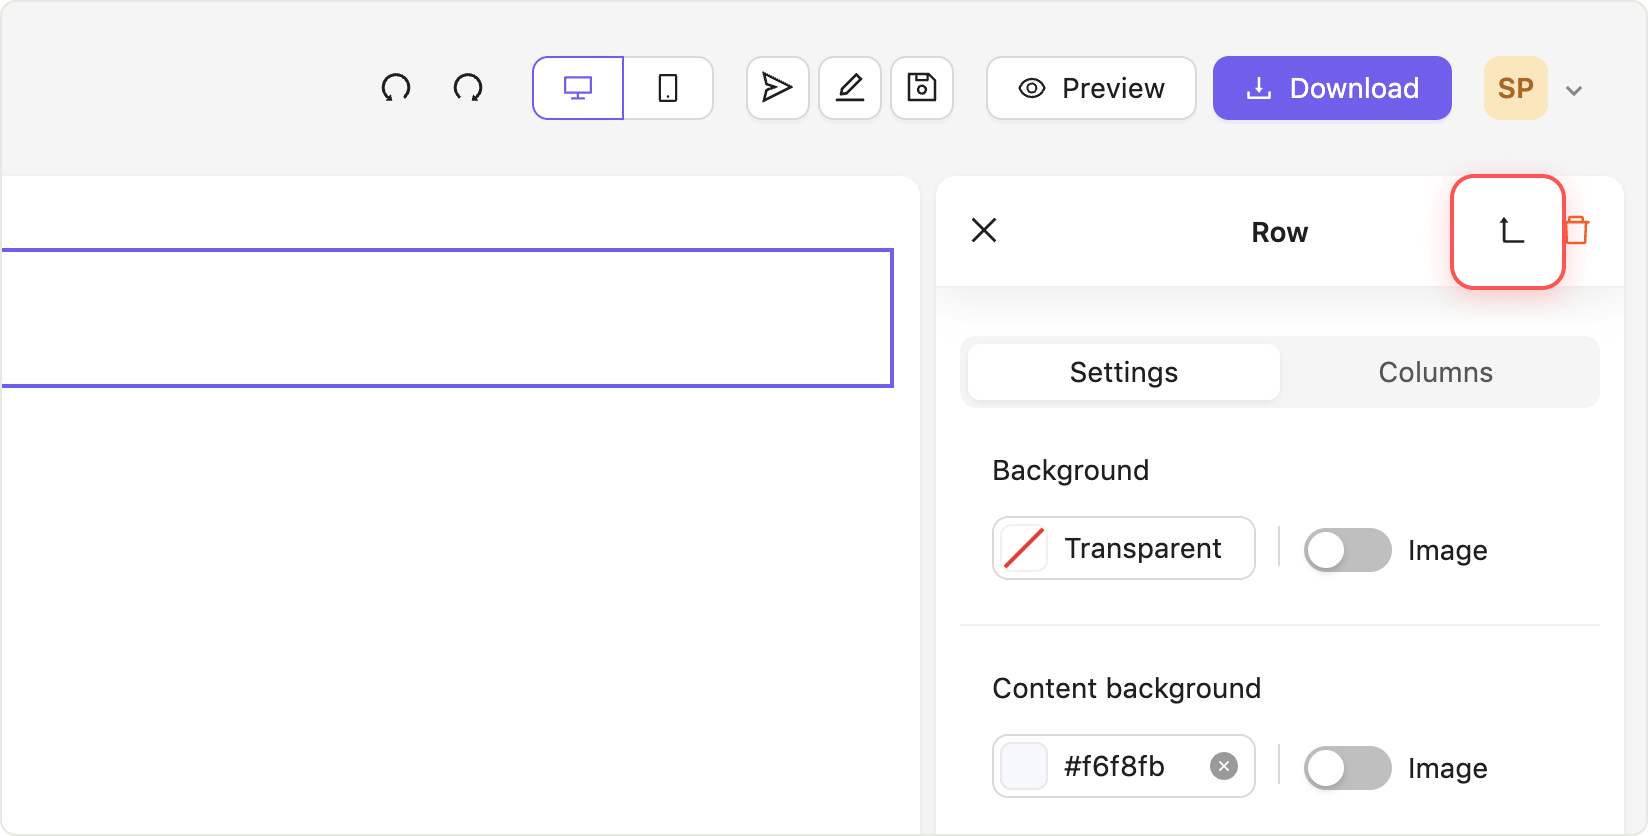
Settings panel
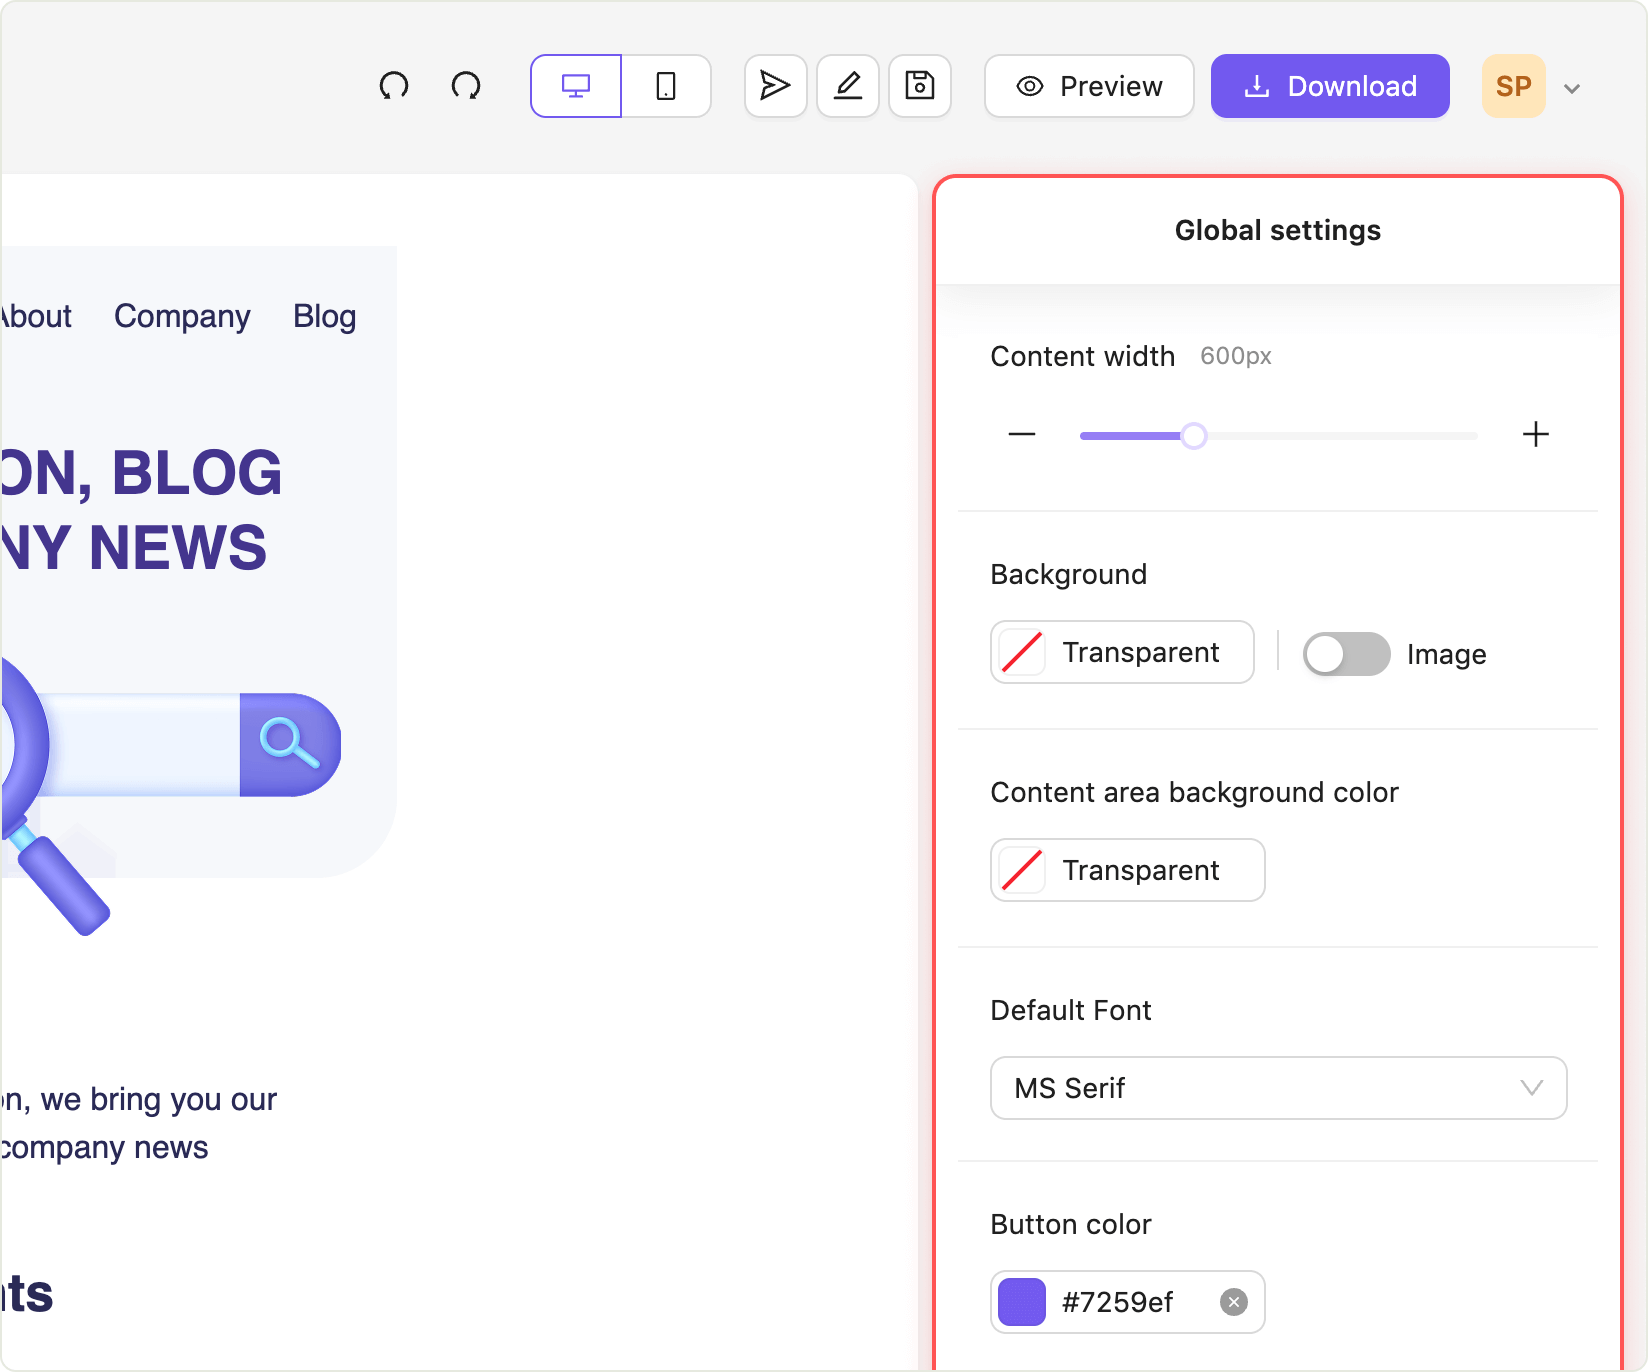
This panel has three levels of interaction and settings, organized from top to bottom:
- Email settings: Here you can adjust the overall settings for the entire email.
- Row settings: Here you can configure the settings for individual rows.
- Element settings: Here, you can customize the settings for specific elements, such as buttons.
You can navigate up the hierarchy from the element settings to the global settings using this button.
Still have questions?