Campaign card overview: General, Contacts, Email template, Scheduler
Every campaign you create in Sendigram has a Campaign Card — a central dashboard where you configure, edit, and monitor all details of that campaign. The card is divided into four key sections: General, Contacts, Email Template, and Scheduler.
1. General
This section contains your campaign's core details:
- Sender email address: here you can select the email address you want to use for sending your campaign
- Reply to: you also have the option to add another email address for replies.
- Name of sender: the name your subscribers will see when receiving a message.
- Sender IP address: the IP address from which the campaign will be sent.
2. Contacts
Here you choose who receives the campaign:
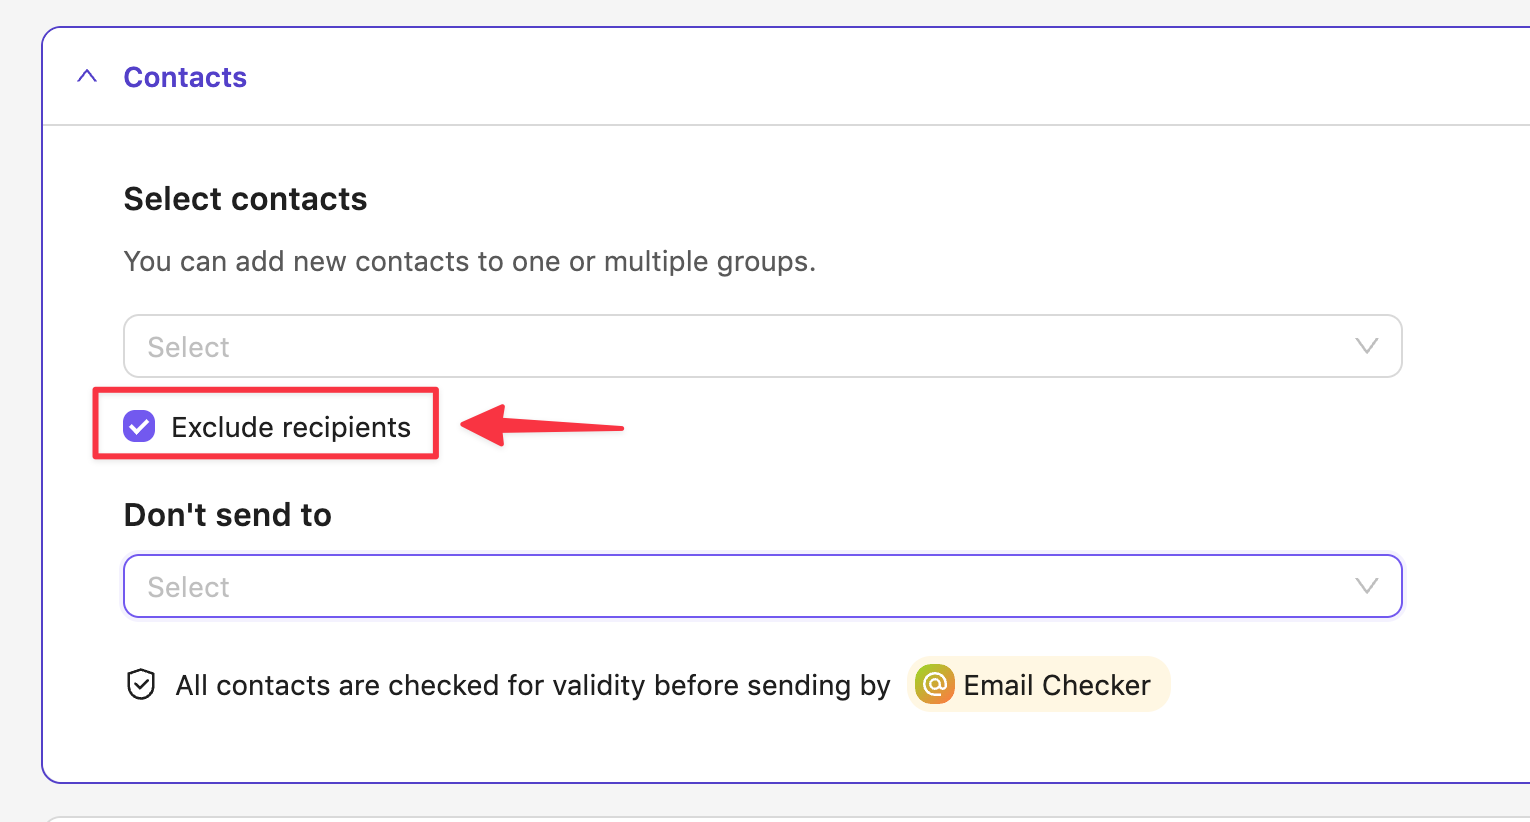
- Select one or more groups or segments.
- If you want to exclude some groups or segments from the recipients list, click the checkbox
Exclude recipients and choose the groups or segments to be excluded in the Don't send to field.
3. Email Template
This is where you design the email content.
Select emails
- Select from templates – here you can choose one of pre-made Sendigram templates or create a message from scratch.
- Upload HTML – here you can upload a ready-to-use HTML file, if you already have one.
Add a subject line for this campaign
- Subject – here you can enter the subject line for your campaign
- Preheader – here you can enter the preheader for your campaign
4. Scheduler
This section defines when and how your campaign is sent:
- Send now – launch the campaign right away.
- Schedule for later – set a date and time (based on your account time zone).
After scheduling, you can:
- Edit or reschedule before the campaign is sent.
- Cancel if necessary.
5. Why the Campaign Card Matters
- Keeps all campaign settings in one place.
- Lets you track progress at a glance.
- Ensures consistency — you can review General, Contacts, Template, Scheduler before hitting send.
Still have questions?