Understanding domain statuses: Verified, Processing, Unverified
Managing sending domains
Why DNS records matter for email deliverability
Adding & verifying DNS records (SPF, DKIM, DMARC)
Understanding Your Domain Health
Checking & resolving domain blacklist issues
Managing sender email addresses
Sender address requirements and best practices
What to do if a sender address is in use by active campaigns
Understanding shared vs. dedicated IP addresses
Connecting or disconnecting a domain to/from an IP address
Buying & managing dedicated IP addresses
User roles & statuses
User status explained: active and deleted users
How to add a new user: user invitations and registration
Managing user permissions and access rights
Default permissions for additional users
Deleting users
Transferring admin rights to another user
What happens after admin rights are transferred?
What happens when permissions are disabled for a user?
How to create a contact
How to work with contact list
Technical Requirements for Your Contact List Fields
Adjusting contact list settings
How to Create a Contact Group
How to Work with a Contact Group
How to Create a Segment
How to work with a segment
Creating & managing groups
Managing contact attributes
Adding and managing custom fields
Adding and managing tags
How to create your first email campaign
Campaign card overview: General, Contacts, Email template, Scheduler
Naming and renaming campaigns
Understanding campaign statuses: Waiting, In progress, Paused, Finished
Saving progress and navigating between campaign blocks
How to set up the sender email address and name
Managing reply-to addresses in campaigns
Selecting and managing IP addresses for sending
How to select recipients: Contacts, Groups, Segments
Excluding contacts and groups from a campaign
Understanding contact limits and subscription packages
What to do if you exceed your email sending limit
Validating contacts before sending: Email Checker explained
Choosing and editing email templates for campaigns
Uploading custom HTML
Writing effective subjects and preheaders
Personalizing Your Subject Lines and Preheaders
Adding and managing UTM parameters
Scheduling campaigns: send now or later
Setting up delivery dates, times, and days of the week
How to calculate and adjust sending volume over time
Managing dedicated IP expiration and renewal
Understanding autowarmup in Sendigram
How to preview and test your campaign
Managing and editing your test email group
Using the campaign calendar: viewing, filtering, and creating campaigns
Understanding campaign statuses: Active, Scheduled, Completed
Viewing campaign details and quick actions from the calendar
Navigating the campaign list: columns and filters
Searching and filtering campaigns by name, date, and status
Campaign card: overview, timeline, and audience
How to pause, continue, or delete a campaign
Understanding campaign statuses: Planned, Active, Paused, Finished
Campaign performance & analytics
Using heatmaps to analyze email engagement
Adjusting contact list settings
To make navigating through your contact lists easier, you can change the number of contacts displayed on a single page.
- Navigate to the "Contacts" section of your dashboard.
- At the bottom of your contact list, you will find a dropdown menu for "Rows per page". By default it is set to 25/page.
- Click on the dropdown menu and select the number of rows you would like to display (10, 20, 25, 50, or 100).
- The list will automatically refresh to show your chosen number of contacts per page.
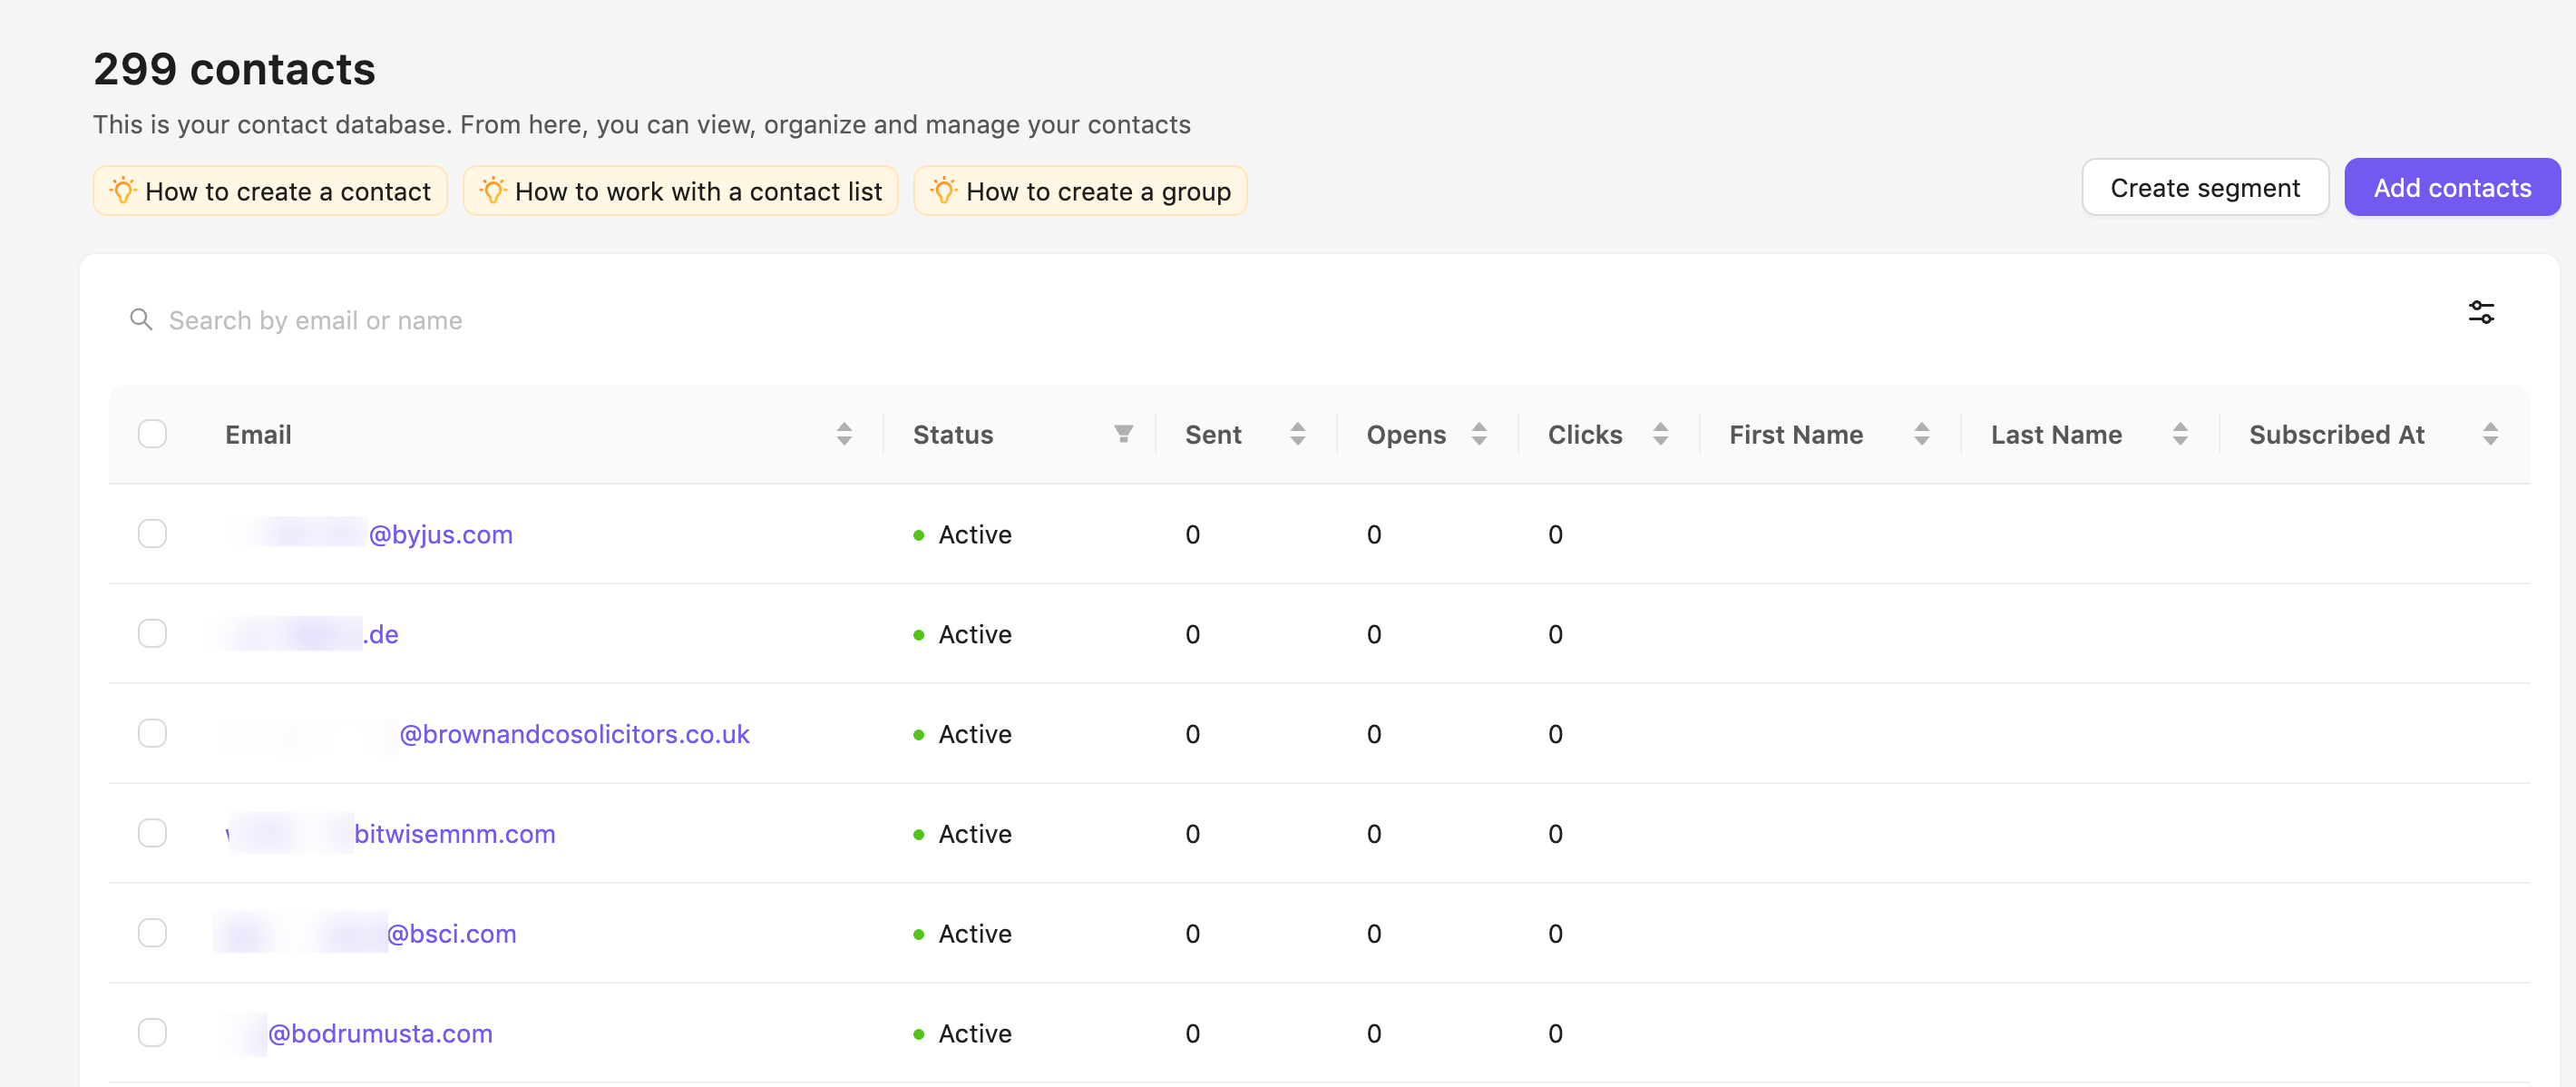
Filtering your contacts
In Sendigram you can sort and filter your contact list using a wide range of parameters and use the result to create a new group or segment. To do this you need to:
- Open the list of contacts you want to filter
- Click the Filters button in the top-right corner of the list
- Check the filters you want to apply
- Click Apply
Contacts that correspond to the filtering parameters will be shown immediately.
Still have questions?