How to start and complete onboarding
When you first sign up for Sendigram, the platform guides you through an onboarding process. This helps you quickly set up your account, connect your contacts, and launch your first campaign.
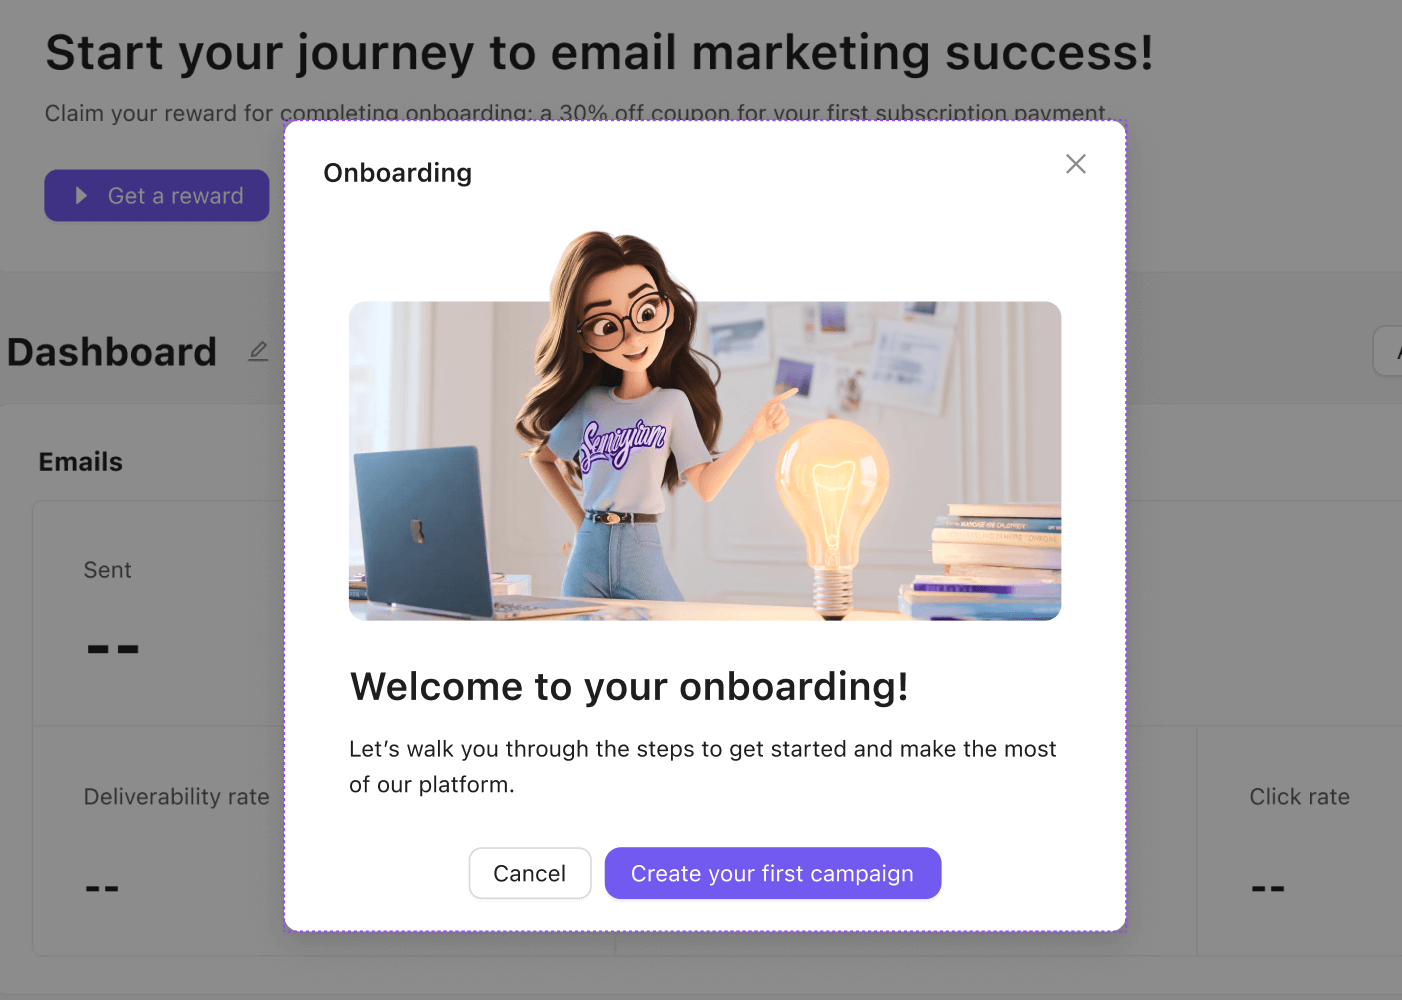
1. Starting Onboarding
After registration, you’ll be taken to the Welcome screen.
Click Create your first campaign to begin.
2. Set Up Your Account
- Confirm your email address (mandatory).
- Complete your profile: name, company, website, and time zone.
- Configure sender details (default “From” name and email).
3. Import or Add Contacts
Choose how to bring your subscribers into Sendigram:
- Upload a CSV/Excel file.
- Add contacts manually.
- Connect via API or CRM integration.
The system will validate addresses and remove duplicates automatically.
4. Create Your First List
- Name your first contact list (e.g., “Newsletter Subscribers”).
- Add imported contacts to it or create a new empty list to start fresh.
- Lists form the basis of all campaigns.
5. Choose or Build a Template
- Select from pre-made templates.
- Use the Drag & Drop editor to build your own.
- Or paste custom HTML code if you already have a design.
6. Launch Your First Campaign
- Click Create Campaign.
- Enter campaign details (name, subject line, sender).
- Choose a template and a contact list.
- Send a test email to yourself before launching.
- Schedule or send immediately.
7. Completing Onboarding
- Once your first campaign is sent, onboarding is complete.
- The Dashboard will now display your campaign metrics and contacts overview.
- You can explore advanced features (automation, segmentation, analytics) at your own pace.
Still have questions?