How multilevel sorting works
Multilevel sorting helps you analyze campaign and automation statistics more efficiently. It lets you apply multiple sorting criteria at once — for example, first by open rate, then by click rate — so you can better understand performance patterns and prioritize key data.
How It Works
Step 1 – Select the First Sorting Level
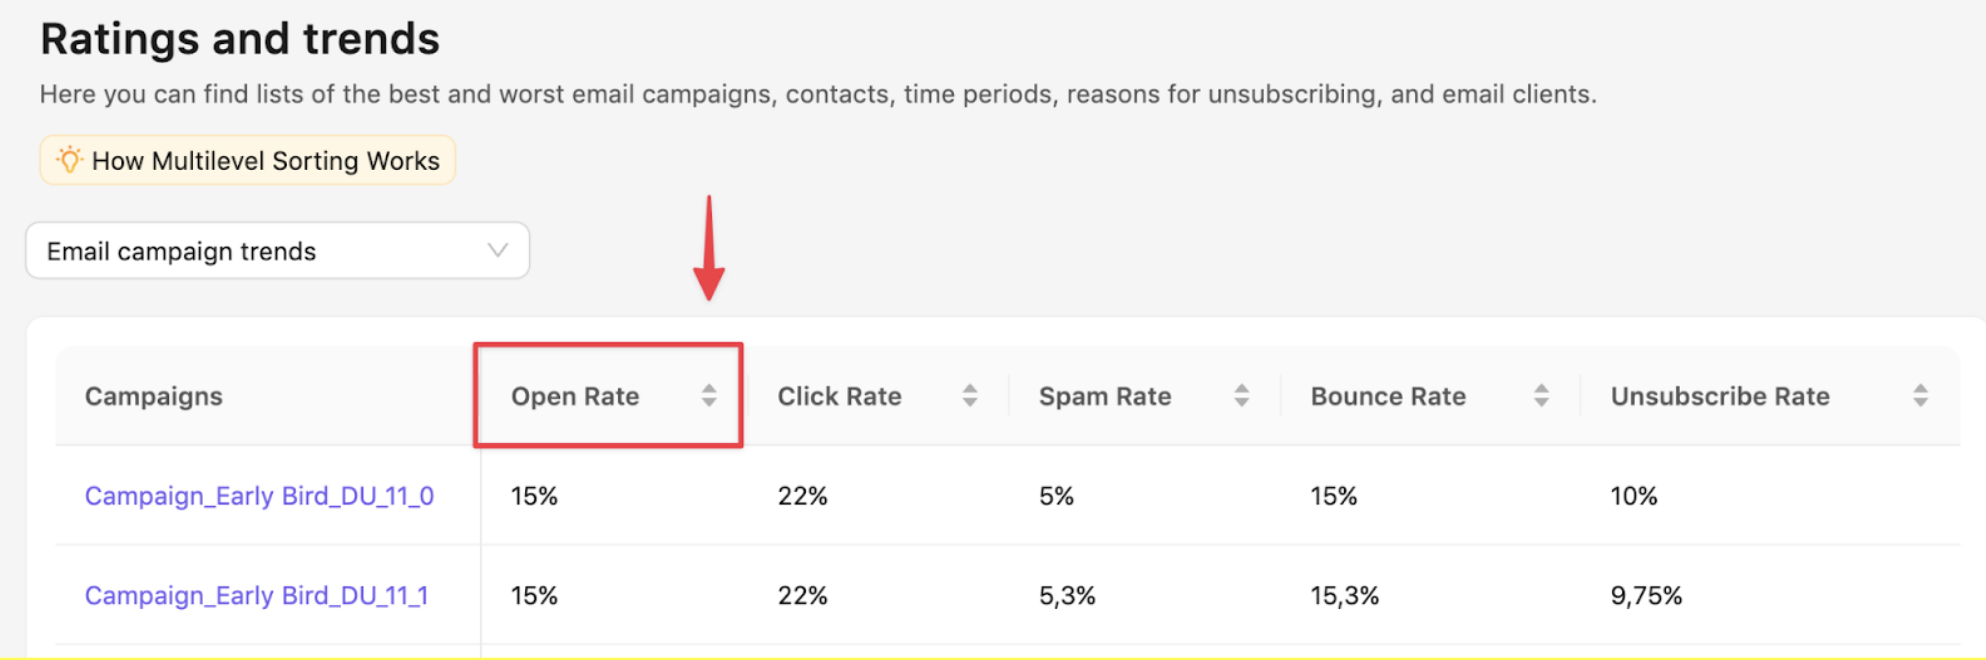
- Open your Statistics => Ratings and trends.
- Click the column header (e.g., Open Rate, Spam Rate etc.).
- Choose Sort Ascending or Sort Descending — this sets your primary sort.
Step 2 – Add the next sorting level.
- Click the header of the column that represents the metric you want to sort your campaigns by.
- Click the header of another column to apply additional sorting criteria.
- Repeat to add a third level if needed.
Example:
- Primary sort: Open Rate (highest to lowest)
- Secondary sort: Click Rate (highest to lowest)
- Result → You’ll first see campaigns with the best open rates, and within those, the ones with the highest click performance.
Changing Sorting Priority
- The first column you select is always the top priority.
- To change priority click Clear Sorting, then select columns again in your desired order.
Tips for Effective Analysis
- Combine engagement metrics to find the most successful campaigns.
- Example: Open Rate → Click Rate → Unsubscribe Rate.
- Use sorting by date + performance to identify trends over time.
- Save frequently used sorting combinations as custom views (if available in your plan).
Limitations
- Multilevel sorting works on visible columns only — hidden metrics must be re-enabled in column settings.
- Some charts (like visual summaries or heatmaps) are not affected by sorting changes.
Still have questions?